SendGrid是一款第三方的电子邮件服务
注册
进入注册官网即可
建议使用国外的邮箱地址注册
登录
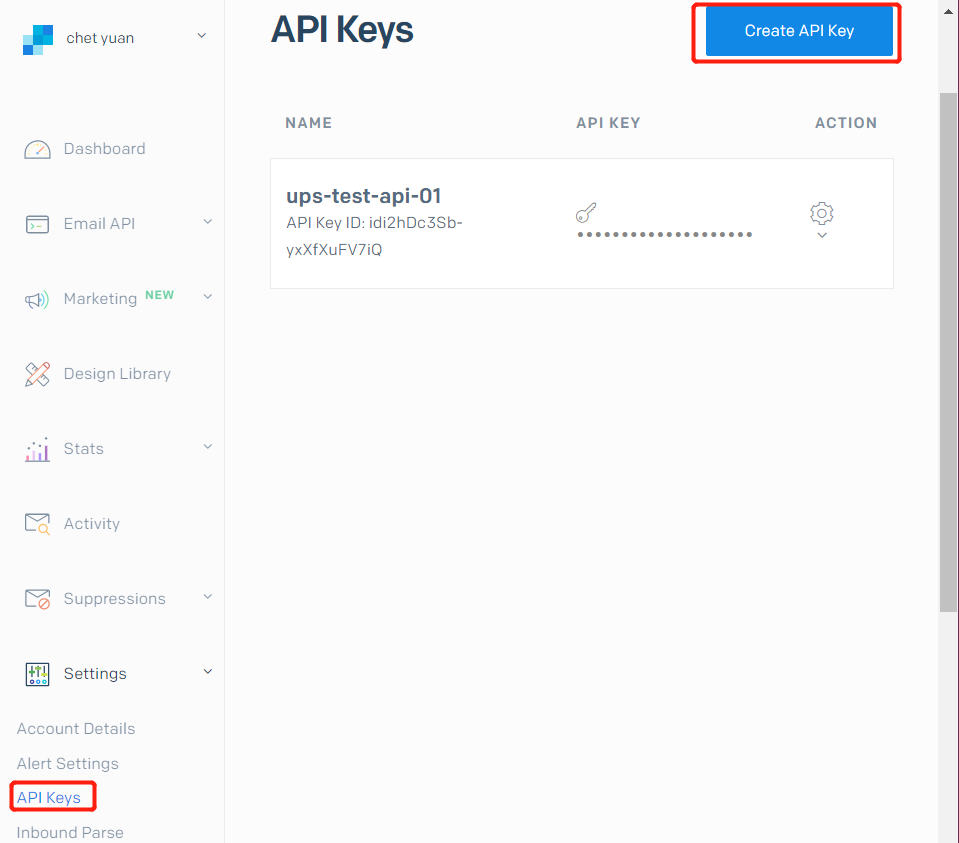
配置API Keys
在左导航栏选择Settings->API Keys,选择Create API Key,可根据需要选择权限,我选的是Full Access,点击生成后记得保存,这个key内容以后是查看不了的
配置发件人
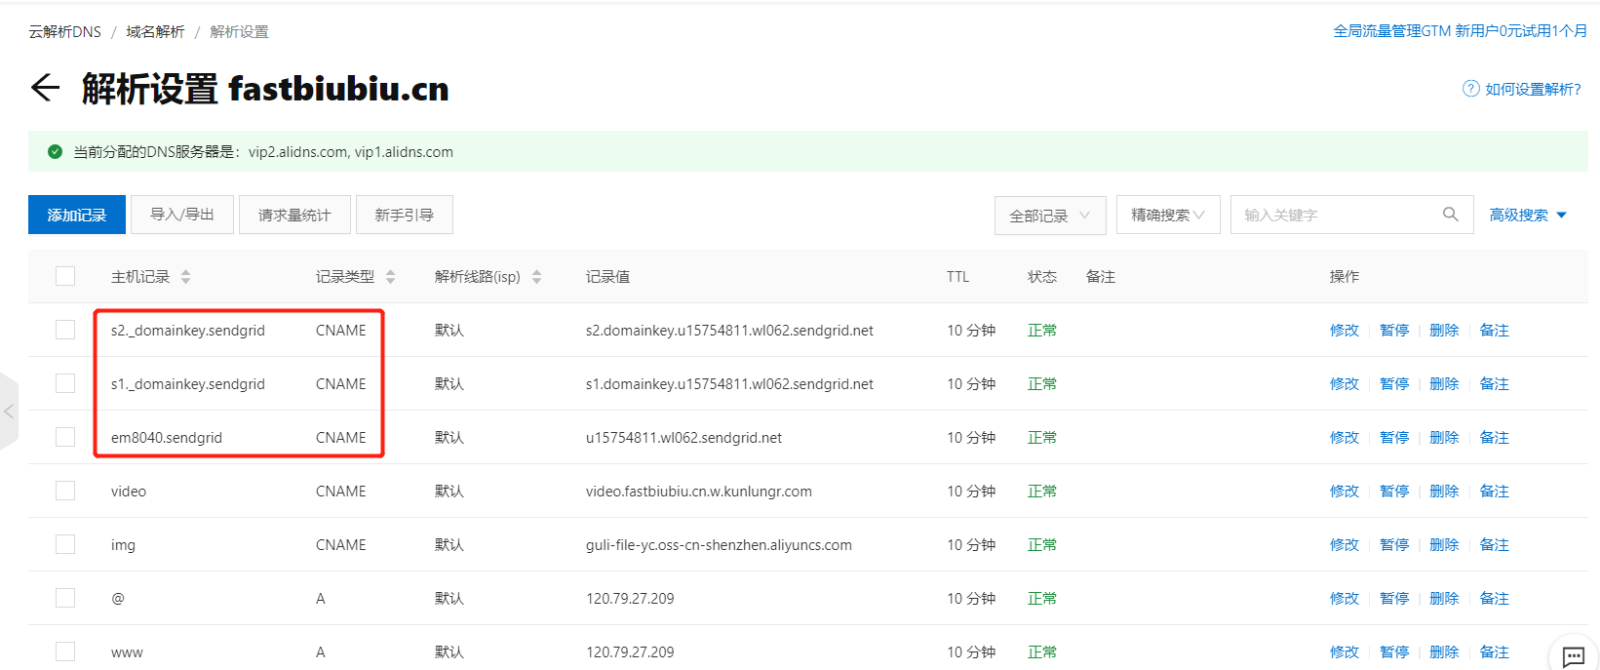
发件人授权有两种方式,一种是配置域名(Domain Authentication),一种是单校验方式(Single Sender Verification)。域名的方式需要关联自己的二级域名,限于篇幅,感兴趣的朋友可以自行搜索,下图是配置的域名解析
我这里演示使用单校验即可,单击Verify a Single Sender配置即可
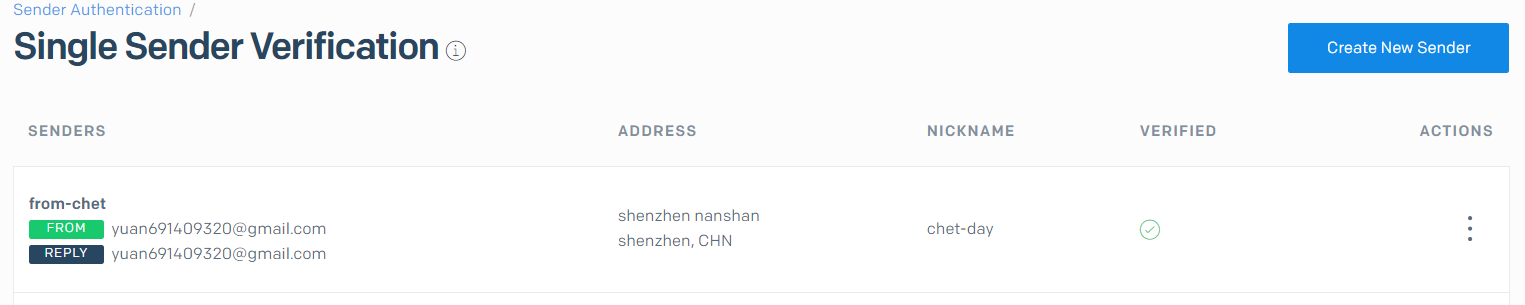
Reply To代表,收件人收到邮件后,点击回复到的邮箱地址,一般与发件人一致
Demo查看
在左导航栏选择Emial API->Integration Guide,可以看到集成send grid的演示
开发
准备
引入依赖
|
1
2
3
4
5
6
7
8
9
10
11
12
13
|
<!--sendgrid --><dependency> <groupId>com.sendgrid</groupId> <artifactId>sendgrid-java</artifactId> <version>4.2.1</version></dependency><!--redis--><dependency> <groupId>org.springframework.boot</groupId> <artifactId>spring-boot-starter-data-redis</artifactId></dependency>复制代码 |
简单实战
- web api方式
|
1
2
3
4
5
6
7
8
9
10
11
12
13
14
15
16
17
18
19
20
21
22
23
24
25
26
27
|
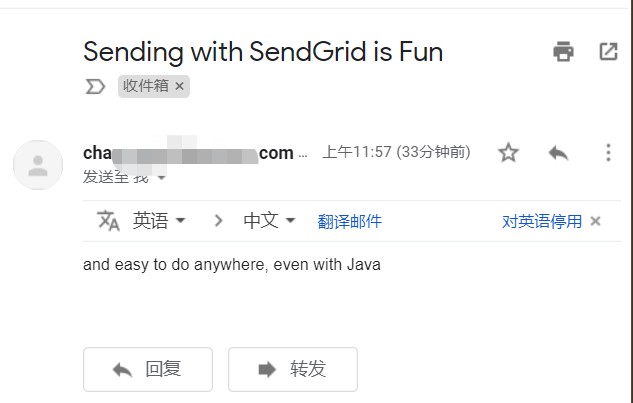
@Testpublic void testWebApi() { // 发件人,即配置的发件人邮箱地址 Email from = new Email("[email protected]"); // 邮件主题 String subject = "Sending with SendGrid is Fun"; // 收件人邮件地址 Email to = new Email("[email protected]"); // 邮件内容 Content content = new Content("text/plain", "and easy to do anywhere, even with Java"); Mail mail = new Mail(from, subject, to, content); // 配置API Keys的密钥 SendGrid sg = new SendGrid("SENDGRID_API_KEY"); Request request = new Request(); try { request.setMethod(Method.POST); request.setEndpoint("mail/send"); request.setBody(mail.build()); Response response = sg.api(request); System.out.println(response.getStatusCode()); System.out.println(response.getBody()); System.out.println(response.getHeaders()); } catch (IOException ex) { System.out.println(ex.getMessage()); }}复制代码 |
查看收件箱
- SMTP Relay方式
这里需要修改yml配置并引入mail依赖
|
1
2
3
4
5
6
7
8
|
spring: mail: host: smtp.sendgrid.net username: apikey password: 密钥内容 default-encoding: utf-8 port: 587复制代码 |
测试
|
1
2
3
4
5
6
7
8
9
10
11
12
13
14
15
16
17
|
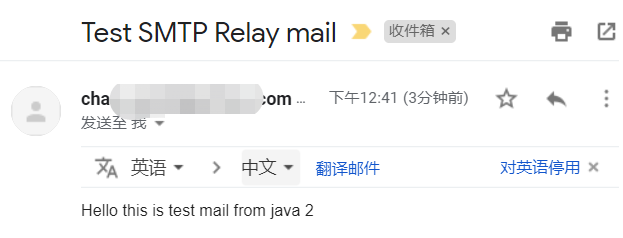
@Testpublic void sendSMTPRelay() { // 简单邮件类 SimpleMailMessage mailMessage = new SimpleMailMessage(); // 寄件人,默认是配置的username mailMessage.setFrom("[email protected]"); // 收件人,支持多个收件人 mailMessage.setTo("[email protected]"); // 邮件主题 mailMessage.setSubject("Test SMTP Relay mail"); // 邮件的文本信息 mailMessage.setText("Hello this is test mail from java 2"); // 发送邮件 mailSender.send(mailMessage);}复制代码 |
查看收件箱
实战-发送验证码
以下使用Web Api的方式发送验证码,smtp的模式可参考上面的示例替换
描述:发送用户名,根据用户名对应的邮箱地址,生成对应的验证码,有效期1min,1min内不生产新验证码
添加sendgrid与redis配置
|
1
2
3
4
5
6
7
8
9
10
11
12
|
spring: redis: database: 0 host: 120.79.27.209 port: 6379 password:sendgrid: from: name: chet email: api-key: 复制代码 |
验证码生成工具类
|
1
2
3
4
5
6
7
8
9
|
public static String randomAlphaNumeric(int count) { StringBuilder builder = new StringBuilder(); while (count-- != 0) { int character = (int)(Math.random()*ALPHA_NUMERIC_STRING.length()); builder.append(ALPHA_NUMERIC_STRING.charAt(character)); } return builder.toString();}复制代码 |
sendgrid的发送邮件服务
|
1
2
3
4
5
6
7
8
9
10
11
12
13
14
15
16
17
18
19
20
21
22
23
24
25
26
27
28
29
30
31
32
33
34
35
36
37
38
39
40
41
42
43
44
45
46
47
48
49
50
51
52
53
54
55
56
57
58
59
60
61
62
63
64
65
66
67
68
69
70
71
72
|
@Slf4j@Servicepublic class SendGridService { /** * 发送邮件 */ public boolean sendMail(MailRequestForm requestForm) { SendGrid sg = new SendGrid(ConstantProperties.API_KEY); Request request = new Request(); Mail mail = buildMail(requestForm); try { request.setMethod(Method.POST); request.setEndpoint("mail/send"); request.setBody(mail.build()); Response response = sg.api(request); log.info("邮件发送结果: status code=[{}], body=[{}], headers= [{}]", response.getStatusCode(), response.getBody(), response.getHeaders()); } catch (IOException e) { log.error("邮件发送失败:[{}]", e.getMessage()); return false; } return true; } /** * 封装邮件参数 */ private Mail buildMail(MailRequestForm requestForm) { Mail mail = new Mail(); // from Email fromEmail = new Email(); fromEmail.setName(ConstantProperties.FROM_NAME); fromEmail.setEmail(ConstantProperties.FROM_EMAIL); mail.setFrom(fromEmail); // subject mail.setSubject(requestForm.getSubject()); // personalization Personalization personalization = new Personalization(); personalization.setSubject(requestForm.getSubject()); ReceiveUser receiveUsers = requestForm.getReceiveUsers(); List<MailInfoForm> toUserList = receiveUsers.getToUser(); if (toUserList != null && !toUserList.isEmpty()) { Email to = new Email(); toUserList.stream().forEach(i -> { to.setName(i.getName()); to.setEmail(i.getEmail()); // cc,bcc... 暂只使用直接发送 personalization.addTo(to); }); } mail.addPersonalization(personalization); // content ContentForm contentForm = requestForm.getContentForm(); Content content = new Content(); content.setType(contentForm.getType()); content.setValue(contentForm.getValue()); mail.addContent(content); // timestamp mail.setSendAt(LocalDateTime.now().toEpochSecond(ZoneOffset.of("+8"))); return mail; }}复制代码 |
详细过程,可参考源代码
相关文章
暂无评论...